I recently checked out The Eat-Clean Diet Vegetarian Cookbook from our local libraryand that is where I stumbled across the recipes for what I like to now call Road Trip Granola. Below are the recipes for the bars and the loose granola! Enjoy!!
Maple Pecan Granola with Raisins
Wet Ingredients
2 egg whites
1/3 cup pure maple syrup
1 tbsp sucanat or other unrefined sugar
1/2 tsp pure vanilla extract
Pinch of sea salt
Dry Ingredients
2 cups oats (I used Bob's Red Mill Gluten Free Oats)
1/4 cup pecan pieces
1/4 cup sliced raw almonds
1/4 cup raw unsalted sunflower seed kernels
1 tbsp flaxsee
1 tbsp sesame seeds
2 tbsp raw unsweetened coconut flakes
1/2 cup raisins
Preheat oven to 275.
In a large bowl, whisk together wet ingredients until thoroughly combined. Stir in dry ingredients until mixed well.
Spread mixture on a baking sheet in a single layer and bake until dry and golden brown, about 60-70 minutes, stirring once.
Remove from oven and stir in coconut flakes and raisins. Set aside to cool completely. Store in an airtight container for up to two weeks!
Honey Nut Granola Bars
Wet Ingredients
1/4 Cup Honey
1/4 Cup Sucanat or other unrefined sugar
2 tbsp natural peanut butter
2 egg whites
1/2 tsp pure vanilla
1/2 tsp ground cinnamon
1/4 tsp sea salt
Dry Ingredients
2 1/2 Cups oats
1/2 cup raw almonds, coarsely chopped
1/4 cup shelled hemp seeds (so yummy!)
Preheat oven to 275. Line a 9x9 inch baking pan with parchment paper allowing a little extra to hang out two of the sides. This will make it easier to lift the bars out of the ban.
In a large bowl, whisk together wet ingredients until combined. Stir in dry ingredients until mixed well. Scrape mixture into prepared baking pan and spread it out to the edges, pressing down firmly to compact the mixture. Bake on middle oven rack for about 1 hour, then remove. Holding onto the parchment paper, carefully lift partially cooked oat mixture out of a pan and place it on a cutting board. Using a large knife, cut oat mixture into 12 bars. Mixture should be firm enough to hold shop, but soft enough to cut.
Holding onto edges of parchment, transfer bars to a cookie sheet. Separate bars so heat can get in between each one, and place them back in oven to bake for another 30-45 minutes, until golden brown and firm. The bars will continue to harden and get crunchier as they cool! Store in air tight container once cooled!
These take awhile to bake but are well worth the wait! I just mixed mine up and then got to packing. In no time I was done packing and my granola was cooling and ready to eat!! Enjoy!
Showing posts with label Recipes. Show all posts
Wednesday, July 3, 2013
Friday, June 14, 2013
Clean Vanilla Iced Latte Recipe
For years I was a Starbuck fanatic! Then I did some research into the ingredients they use and have cut way back. I still will get an occasional iced green tea (sugar free of course!), but no more frapp's or latte's for this girl. I love my morning coffee! I don't go a day without it, so I decided to try my hand at a clean version of Starbucks Vanilla Iced Latte.
Clean Vanilla Iced Latte Recipe

**I really didn't measure anything out, but have a venti sized travel cup from Starbucks so this is made according to that size of cup!**
Freshly Brewed Coffee
Ice
1/2 Cup Sugar Free Vanilla Almond Milk
Vanilla Steevia Drops
1. Pour vanilla almond milk into venti size mug.
2. Pour enough coffee in, still allowing room for ice.
3. 4-5 drops of vanilla steevia.
4. Add ice
5. Shake it like a polaroid picture!
6. Sit back and enjoy with out all the harsh chemicals and additives!
Next time I am going to freeze some leftover coffee in ice trays. That will keep the drink from getting watered down!
Enjoy!
XOXO
Amber
Clean Vanilla Iced Latte Recipe
**I really didn't measure anything out, but have a venti sized travel cup from Starbucks so this is made according to that size of cup!**
Freshly Brewed Coffee
Ice
1/2 Cup Sugar Free Vanilla Almond Milk
Vanilla Steevia Drops
1. Pour vanilla almond milk into venti size mug.
2. Pour enough coffee in, still allowing room for ice.
3. 4-5 drops of vanilla steevia.
4. Add ice
5. Shake it like a polaroid picture!
6. Sit back and enjoy with out all the harsh chemicals and additives!
Next time I am going to freeze some leftover coffee in ice trays. That will keep the drink from getting watered down!
Enjoy!
XOXO
Amber
Sunday, June 2, 2013
Cauliflower Pizza Crust Recipe
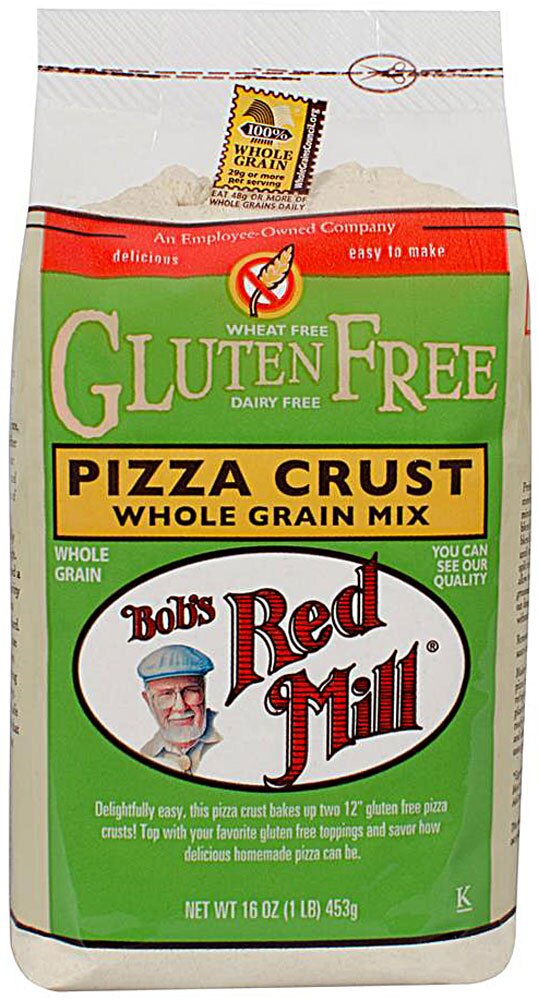
I love pizza... A LOT!!! And when I first started eating gluten free I was determined to find that perfect crust. While this is my favorite gluten free pizza crust mix:
I heard a lot about cauliflower crust pizza's and wanted to give it a try! Now, I guess I should be fair here and say that when "I" wanted to try it, that meant that Scott would be the one actually making it. Have I mentioned lately how lucky I am to have a husband that loves to cook and cook healthy eats at that?? So blessed!!
I searched several different recipes and they all seemed to be pretty similar in their ingredients. We finally decided to settle on Recipe Girls recipe.

Cauliflower Pizza Crust
1/2 large head of Cauliflower (equals 2 plus cups of shredded cauliflower)
1 large egg
1 cup shredded mozzarella cheese
1 tsp dried oregano
1/2 tsp dried or fresh minced garlic
1/2 tsp onion salt
1. Shred the cauliflower into small crumbles. You can use a food processor, or do like poot did and use a cheese grater to "rice" the cauliflower. You will want around 2 cups of riced cauliflower.
2. Place the riced cauliflower in a large bowl and microwave them dry (no need for water) for 8 minutes.
3. Allow the cauliflower to cool some.
4. Preheat oven to 450 degrees. Spray cookie sheet or pizza pan with non-stick spray. (We prefer Spectrum's Coconut Oil spray.)
5. In a medium bowl, mix the riced cauliflower in with the remaining ingredients.
6. Place mixture on the cookie sheet and pat the crust into a 9-12 inch round or square. Spray the crust with a little non stick spray (again why we like the Spectrum Coconut Oil spray because it is clean).
7. Bake for 15 minutes or until golden brown. **you want to make sure the crust is done in the middle other wise you will have a very flimsy piece of pizza**
8. Remove pizza from oven and turn the oven to broil setting.
9. Top with whatever your heart desires.
10. Broil pizza 3-4 minutes until the toppings are hot and cheese is bubbly.
We made two pizza's since we like different toppings and I didn't want much cheese. I topped mine with pizza sauce, local sausage from Local Pig, mushrooms, red onions, banana peppers, and fat free feta cheese. It was so good. I even heated the leftovers up the next day and the crust was still tasty.

The crust was Poot approved! Seriously... I was a little skeptical but it was tasty and we have made it several times since!
Happy Eats!
**If you try this recipe I would love to know how you liked it!**
XOXO
Amber
I heard a lot about cauliflower crust pizza's and wanted to give it a try! Now, I guess I should be fair here and say that when "I" wanted to try it, that meant that Scott would be the one actually making it. Have I mentioned lately how lucky I am to have a husband that loves to cook and cook healthy eats at that?? So blessed!!
I searched several different recipes and they all seemed to be pretty similar in their ingredients. We finally decided to settle on Recipe Girls recipe.
Cauliflower Pizza Crust
1/2 large head of Cauliflower (equals 2 plus cups of shredded cauliflower)
1 large egg
1 cup shredded mozzarella cheese
1 tsp dried oregano
1/2 tsp dried or fresh minced garlic
1/2 tsp onion salt
1. Shred the cauliflower into small crumbles. You can use a food processor, or do like poot did and use a cheese grater to "rice" the cauliflower. You will want around 2 cups of riced cauliflower.
2. Place the riced cauliflower in a large bowl and microwave them dry (no need for water) for 8 minutes.
3. Allow the cauliflower to cool some.
4. Preheat oven to 450 degrees. Spray cookie sheet or pizza pan with non-stick spray. (We prefer Spectrum's Coconut Oil spray.)
5. In a medium bowl, mix the riced cauliflower in with the remaining ingredients.
6. Place mixture on the cookie sheet and pat the crust into a 9-12 inch round or square. Spray the crust with a little non stick spray (again why we like the Spectrum Coconut Oil spray because it is clean).
7. Bake for 15 minutes or until golden brown. **you want to make sure the crust is done in the middle other wise you will have a very flimsy piece of pizza**
8. Remove pizza from oven and turn the oven to broil setting.
9. Top with whatever your heart desires.
10. Broil pizza 3-4 minutes until the toppings are hot and cheese is bubbly.
We made two pizza's since we like different toppings and I didn't want much cheese. I topped mine with pizza sauce, local sausage from Local Pig, mushrooms, red onions, banana peppers, and fat free feta cheese. It was so good. I even heated the leftovers up the next day and the crust was still tasty.
The crust was Poot approved! Seriously... I was a little skeptical but it was tasty and we have made it several times since!
Happy Eats!
**If you try this recipe I would love to know how you liked it!**
XOXO
Amber
Tuesday, May 14, 2013
Chia Seeds= Heaven
Why have I just started hearing about these magical little Chia Seeds? These little bad boys pack a powerful punch and are tasty to boot! It is a win-win situation folks!

Here are some pretty amazing facts about Chia Seeds...
**They have more omega-3 than salmon!
**They have more antioxidants than blueberries!
**They have more fiber than flax seed!
**They have more calcium than milk!
**They have more magnesium then broccoli!
**They have more iron than spinach!
If that isn't enough to convince you to try them, then here are a few more...
**Aids in weight loss by suppressing food cravings and keeping you feeling full!
**Reduces glucose levels!
**They are gluten free!
**Will have you feeling more energized!
I love to add a tablespoon to my morning smoothie, mix it in with my overnight oats, use it for a topping on my greek yogurt, and to make Chia Seed Pudding! The seeds, when wet, form a thick, smooth texture that allows for 25% reduction of sodium and/or sugar. If you like boba tea, boba tapioca pearls like the ones they usually have at frozen yogurt bars, or tapioca pudding you will love the texture of these seeds. Plus they have no taste, allowing them to take on the flavor of whatever you are adding them into! I really can't go a day with out these powerful little guys.
If you are curious about trying these, they can typically be found in your local grocery store in the Health Food Section. There are so many recipes out there that I can't wait to try. I will leave you today with one of my recent favorites:

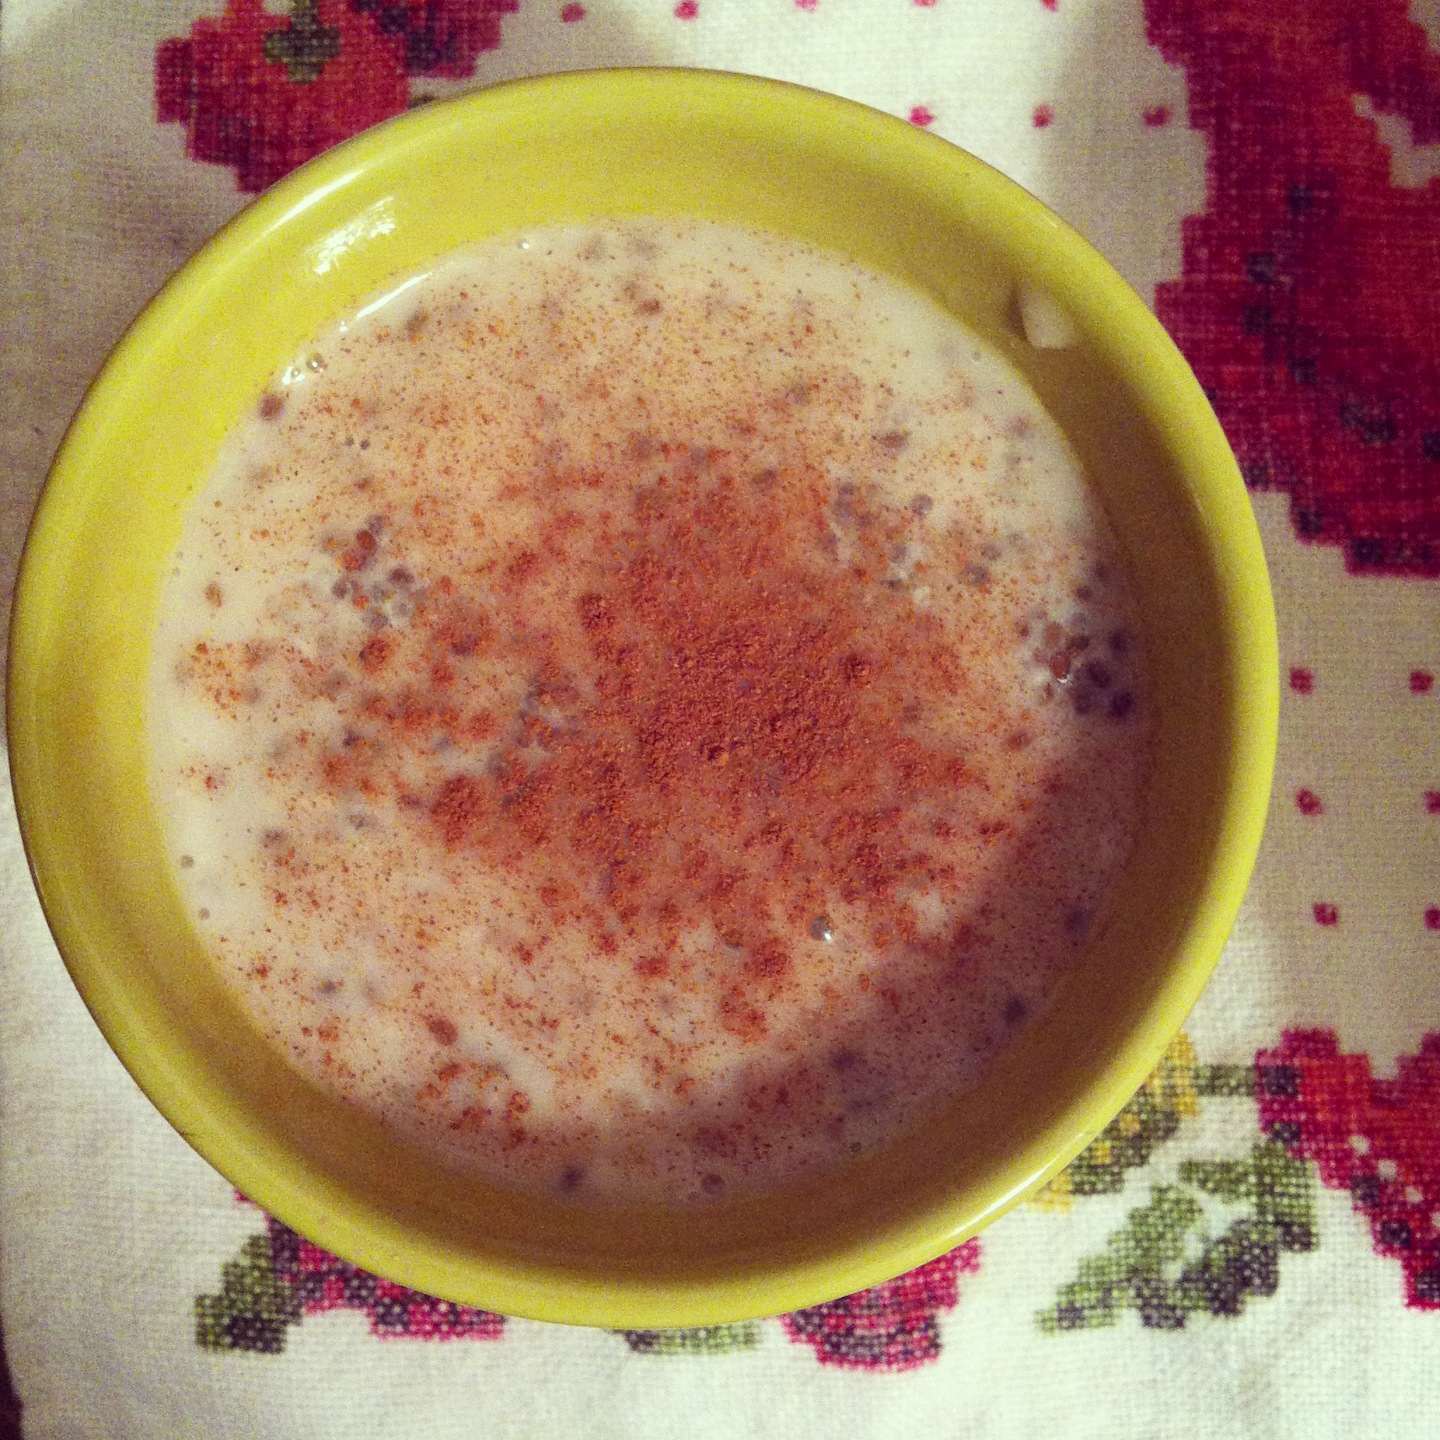
Chai Seed Pudding
Serves 2
2 Cups of Sugar Free Vanilla Almond Milk
1 tsp of vanilla extract
1/8 cup of maple syrup
3/8 cup of Chia Seed (use 1/4 cup once full and then fill half full to get 3/8 a cup)
Cinnamon for garnish
Mix the almond milk, vanilla, and maple syrup together until well blended. Carefully fold in the chia seeds. Cover and allow to sit in the fridge over night for best results. **I will probably add a little more chia seeds on my next batch to make it a little thicker consistency.
Enjoy!
Have you tried Chia Seeds before? If so what are some of your favorite recipes?
XOXO
Amber

Here are some pretty amazing facts about Chia Seeds...
**They have more omega-3 than salmon!
**They have more antioxidants than blueberries!
**They have more fiber than flax seed!
**They have more calcium than milk!
**They have more magnesium then broccoli!
**They have more iron than spinach!
If that isn't enough to convince you to try them, then here are a few more...
**Aids in weight loss by suppressing food cravings and keeping you feeling full!
**Reduces glucose levels!
**They are gluten free!
**Will have you feeling more energized!
I love to add a tablespoon to my morning smoothie, mix it in with my overnight oats, use it for a topping on my greek yogurt, and to make Chia Seed Pudding! The seeds, when wet, form a thick, smooth texture that allows for 25% reduction of sodium and/or sugar. If you like boba tea, boba tapioca pearls like the ones they usually have at frozen yogurt bars, or tapioca pudding you will love the texture of these seeds. Plus they have no taste, allowing them to take on the flavor of whatever you are adding them into! I really can't go a day with out these powerful little guys.
If you are curious about trying these, they can typically be found in your local grocery store in the Health Food Section. There are so many recipes out there that I can't wait to try. I will leave you today with one of my recent favorites:
Chai Seed Pudding
Serves 2
2 Cups of Sugar Free Vanilla Almond Milk
1 tsp of vanilla extract
1/8 cup of maple syrup
3/8 cup of Chia Seed (use 1/4 cup once full and then fill half full to get 3/8 a cup)
Cinnamon for garnish
Mix the almond milk, vanilla, and maple syrup together until well blended. Carefully fold in the chia seeds. Cover and allow to sit in the fridge over night for best results. **I will probably add a little more chia seeds on my next batch to make it a little thicker consistency.
Enjoy!
Have you tried Chia Seeds before? If so what are some of your favorite recipes?
XOXO
Amber
Labels:
chia seeds,
clean eating,
healthy living,
product reviews,
Recipes
Thursday, June 28, 2012
Coconut Lemonade Slushie
During our Craft Day, I made Coconut Lemonade Slushies that were AMAZING!! And so simple too. Here is what you need:
3 cups of crushed ice
6 tbsp frozen lemonade concentrate
4 tbsp (or more) coconut rum
Blend together in a blender or ninja! Garnish with a lime.
**My friend Shannon had some blue powerade that we decided to mix into the one pictured above. It was so tasty too! You could add all kinds of different flavors to it. We teased that we were hydrating our bodies while we drank! Ha!
This really is the perfect summer drink and I think it just might become my signature drink! It needs a fancier name maybe?? Any suggestions?
Cheers!
XOXO,
Amber
Wednesday, June 6, 2012
Green Smoothies
My friend Audra told me about these green smoothies and knew I had to give them a try. I will be the first to admit that I don't eat enough fruits and veggies! I knew this would be the perfect way to sneak some more into my day. I love the fact that I am doing this first thing in the morning too!
Don't let the fact that they are "green" scare you. I promise that you can't taste the spinach at all!!!
Here is what you will need for two smoothies (just half the recipe if you only want to make one):
2 Cups of fresh spinach
1 Cup of Milk (I use vanilla almond milk)
1 cup of yogurt (I prefer greek yogurt and typically use vanilla Chioboni)
handul of dried oats (I use Bob's Red Mill Gluten Free Oatmeal)
2 tbsp of local honey
2 Cups of frozen Fruit (any will work our favorite has been the tropical mix lately with pineapple!!)
**One tip is too put the spinach in first which will ensure that it will really get blended in. You will be able to see it, but won't taste it. I think the oatmeal is the key to that for some reason**
Throw this all in your blender or Ninja and mix!! Enjoy!!
XOXO
Amber
Friday, February 10, 2012
Gluten Free Pull Apart Honey Rolls
It was request that I had share this recipe. I found this recipe in the Living Without's Gluten Free Holiday Guide magazine. It was my first attempt at making any sort of bread from scratch. They turned out so yummy and we had nothing left after our New Years Day Feast. Even all my gluten eating pals couldn't get enough! That is a sure sign in my book!!
4-4 1/2 cups gluten free all purpose flour, more for dusting (I used Bob's Red Mill all purpose flour)
3 tsps xanthan gum
1/4 tsp cream of tarter
1/2 tsp kosher salt
3 tsp active dry yeast
1/2 cup neutral oil of choice
2 tbsps of honey
1 extra large egg plus 1 extra large egg white
2 cups warm milk of choice (about 100 degrees F)
Glaze
1/2 cup sugar
2 tbsps unsalted butter
1 tbsp honey
1 extra large egg
1. Line two 8x8 baking pans with parchment paper. Set aside.
2. In the bowl of a stand mixer fitted witht he paddle attachment (or a large bowl,if blending by hand), place 4 cups flour blend, xanthan gum, cream of tartar, and salt. Mix on low speed until well combined. Add the yeast and mix again until well combined.
3. Add the oil, honey, and eggs and mix until wet ingredients are incorparated into dry mixture.
4. With the mixer on low, add milk in a slow, steady stream. Once the mixture starts to come together, turn the mixer up to about half speed and beat for about 6 minutes. The dough should be thick and smooth, but takcy to the touch. If it seems toow et, addmore flour by the tablespoon, mixing well until you reach the right consistency.**I did have to add several extra tablespoons here to ge the right consistenscy**
5. Turn the dough out onto a very lightly floured flat surface, ideally a silicone baking mat. Pat down the dough into a mound about 1 1/2 inches tall and divide evenly into 24 pieces. Roll each piece between wet palms to make a ball and then, if necessary, through the flour on your flat surface.
6. divide the balls of dough between the two prepared pans, spacing them evenly. They will be relativeloy close together. Cover the pans with plastic wrap and place them in a warm, moist, draft free spot. Allow the dough to rise for about 30 minutes or until the rolls are about 2 1/2 times their original size and touching each other.
7. While the rolls are rising, preheat oven to 375 degrees F and mix the glaze ingredients in small bowl.
8. Using pastry brush, brush the tops of the rolls generously with the glaze.
9. Bake for 18 to 20 minutes in preheated oven until lightly browned, rotating once while baking.
Enjoy!!!!
XOXO
Amber