A few weeks ago I tried my hand at Kool Aid Yarn Dyeing. This was my first attempt at yarn dyeing and I would have to say it was a success! This technique is very simple and a great way to experiment if you want to give yarn dyeing a try. Here is what you will need:
**Kool Aid Packets
**Glass bowls/containers
**Unbleached Wool yarn (or white/light colored wool yarn)
**water
I wanted to do four colors(pink,blue,orange, and yellow) on my skein of yearn, so before begining I wound my yarn around a box of cereal, in order to section off where I would put the colors.
I sectioned off where the colors would go by tieing scraps of yarn in four different sections.
Next I boiled some water to mix with the Kool Aid.
I really didn't measure out how much water. I just filled each glass bowl with maybe a cup of bowling water each.
I then dipped each section of the yarn in the four colors. I used a spoon to push the yarn into the dye, making sure to saturate it all the way through. Where I tied off the sections on the skein, allowed for a little section of the natural yarn to show through. I ended up really liking the end result.
After the yarn is the desired color, hand rinse it and then allow to air dry.
Here are a few extra tips:
**The actual color of the Kool Aid is NOT the color of the packet. It is the color of the Kool Aid in Mr. Kool Aid's pitcher on the package.
**I only used one packet of each color. Next time I would use at least two for a deeper color.
**The four packets of Kool Aid I used was only enough to do one skein of yarn.
**I have read that you can use a wool blend yarn but synthetic fibers do not hold the color, therefore your color might bleed or not take as well.
**I used Hobby Lobby's I love this Wool yarn in an off white.
Happy Yarn Dyeing! If you try this technique I would love to see what it looks like. Please leave a comment with a link below!
XOXO
Amber
Showing posts with label craft weekend. Show all posts
Sunday, July 15, 2012
Monday, June 25, 2012
Craft Day...Bleach Painting
This past Saturday I had a little Craft Day get together at Poot Manor. I had two projects I wanted to work on and I can proudly say that I completed both of them!! The first project was bleach painting a tshirt! I had seen this all over Pinterest and a few blogs and knew that I wanted to create my own unique tshirt. It took a little time and patience but it was worth it.
Supplies Needed:
**plain tshirt or tank
**cardboard
**glass container
**fabric safe bleach
**a couple of old paint brushes
**safety pins
**chalk
Place a piece of cardboard in between your tshirt and secure the tshirt tightly in the back with safety pins. Decide what you want to draw or write on your shirt and sketch it on with chalk. Pour some bleach into your glass container. Dip brush into bleach and run it up the side of the jar to get off any excess bleach (keeps it from dripping). Slowly start painting over what you drew, reloading your brush often. Let your desing dry and continue to go back over your design until it is the color you want. I had to go over mine several times. Once you are done, handwash and air dry. Your design should be set now.
Here is my finished design:
I will be posting soon about my other project...yarn dyeing with Kool Aid.
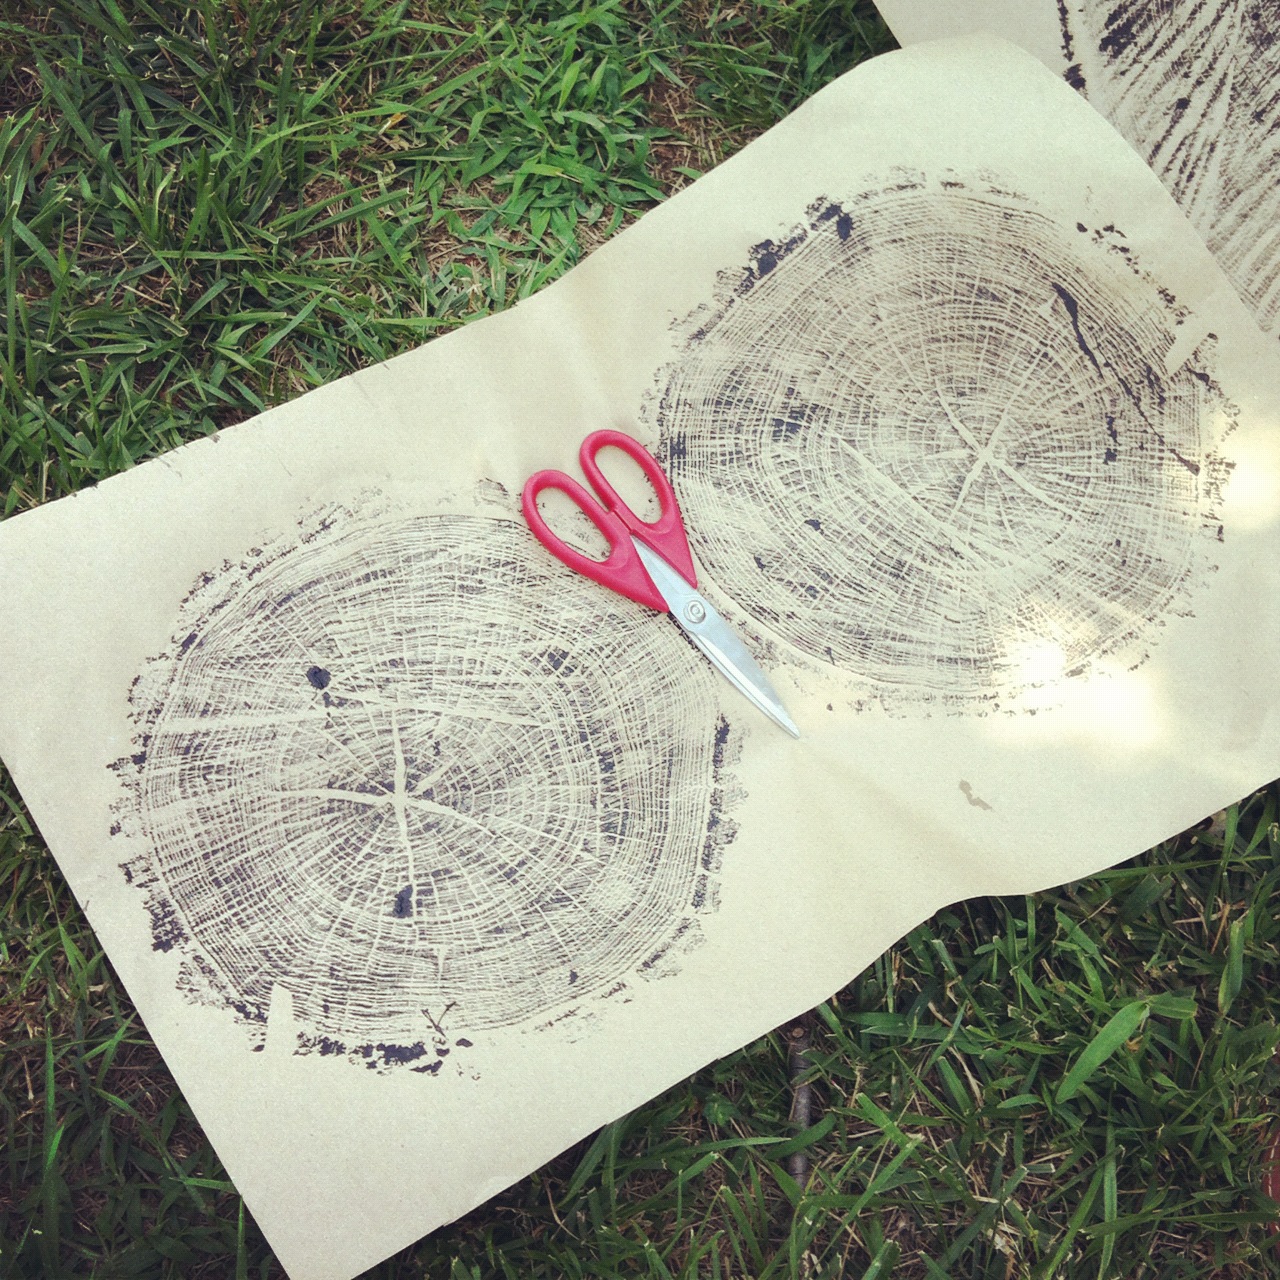
My friend Shannon decided to make a little tree art out of the tree that uprooted this Spring in our back yard. She is making prints for several wedding gifts this summer! I can't wait to make a little something for Poot Manor out of our tree too!
I just love that she was able to make something pretty out of something that caused so much damage! Lol!
I look forward to more Craft Days soon!!!
XOXO
Amber